Tuesday, July 29, 2014

Moist & Tender Turkey Breast


 Photo By: Marg-CaymanDesigns

I have to admit, I've never been a huge fan of turkey, let alone white meat. At Thanksgiving I'll normally go for the dark meat and maybe once a year I'll cook up a turkey breast for a mini "Thanksgiving" type dinner. I decided on a turkey breast for our CIJ dinner because I found a new recipe on Pinterest that claimed to keep the breast meat "MOIST and TENDER". It was a 5 star recipe, with lots of raving from others who had enjoyed it. Now, let me tell you...This recipe did NOT DISAPPOINT. I was absolutely gawking over how moist it was. I added a touch of gravy for the yum factor and even went back for seconds. On a shopping note, I was a very happy with the Market Pantry brand turkey breast I purchased at Target. It came with a gravy packet inside, to add to the drippings and I thought that even tasted great. So, if you hesitate to eat turkey, because cooking an entire bird is overwhelming, give this recipe a try. You will not be disappointed.

Ingredients:


Directions:

  1. Place turkey or turkey breast in a roasting pan.
     
  2. (I use a foil-lined 13x9-inch pan) Combine melted butter and chicken broth.
    Note: I skipped the foil and just used a heavy duty, non stick broiler pan 
     
  3. Pour over turkey.
     
  4. Rub mayonnaise all over turkey's exterior.
    Note: I didn't measure this necessarily. Just took out a few spoonfuls, put them aside and made sure I had enough to cover the entire turkey. 
     
  5. Salt lightly if desired.
     
  6. Roast at 300°-325°F until internal temperature reaches 170°F on an instant read thermometer. (I raise the temperature to 350° for the last approximate 30-45 minutes to crisp skin).
     
  7. Remove from oven and let sit for about 30 minutes before slicing.
    Note: Do Not Skip This Step. It's VERY, VERY important to let your bird sit. 
     
  8. Note: because the butter and broth are for making gravy, if you need to make a lot of gravy, double the amount of both.
     
  9. To make gravy: pour pan drippings into a saucepan and bring to a simmer over medium heat. Add 1 Tbls. cornstarch per cup of broth/drippings to 1/4 cup cold water. (You'll usually need 2-3 Tbls) Mix well to dissolve. Stir cornstarch mixture into broth and stir until thickened. Add salt and pepper to taste. If too thin, dissolve more cornstarch in water and add until desired thickness. If too thick, add water or more broth to thin.
     
    Note: I used the gravy packet that came with the Market Pantry turkey and just added the juices from the pan to that mix and then followed the instructions by adding water. 


I did not take a photo of my turkey, so the photo above is the photo posted with the recipe at Food.Com

Monday, July 28, 2014

Christmas in July Dinner 2014

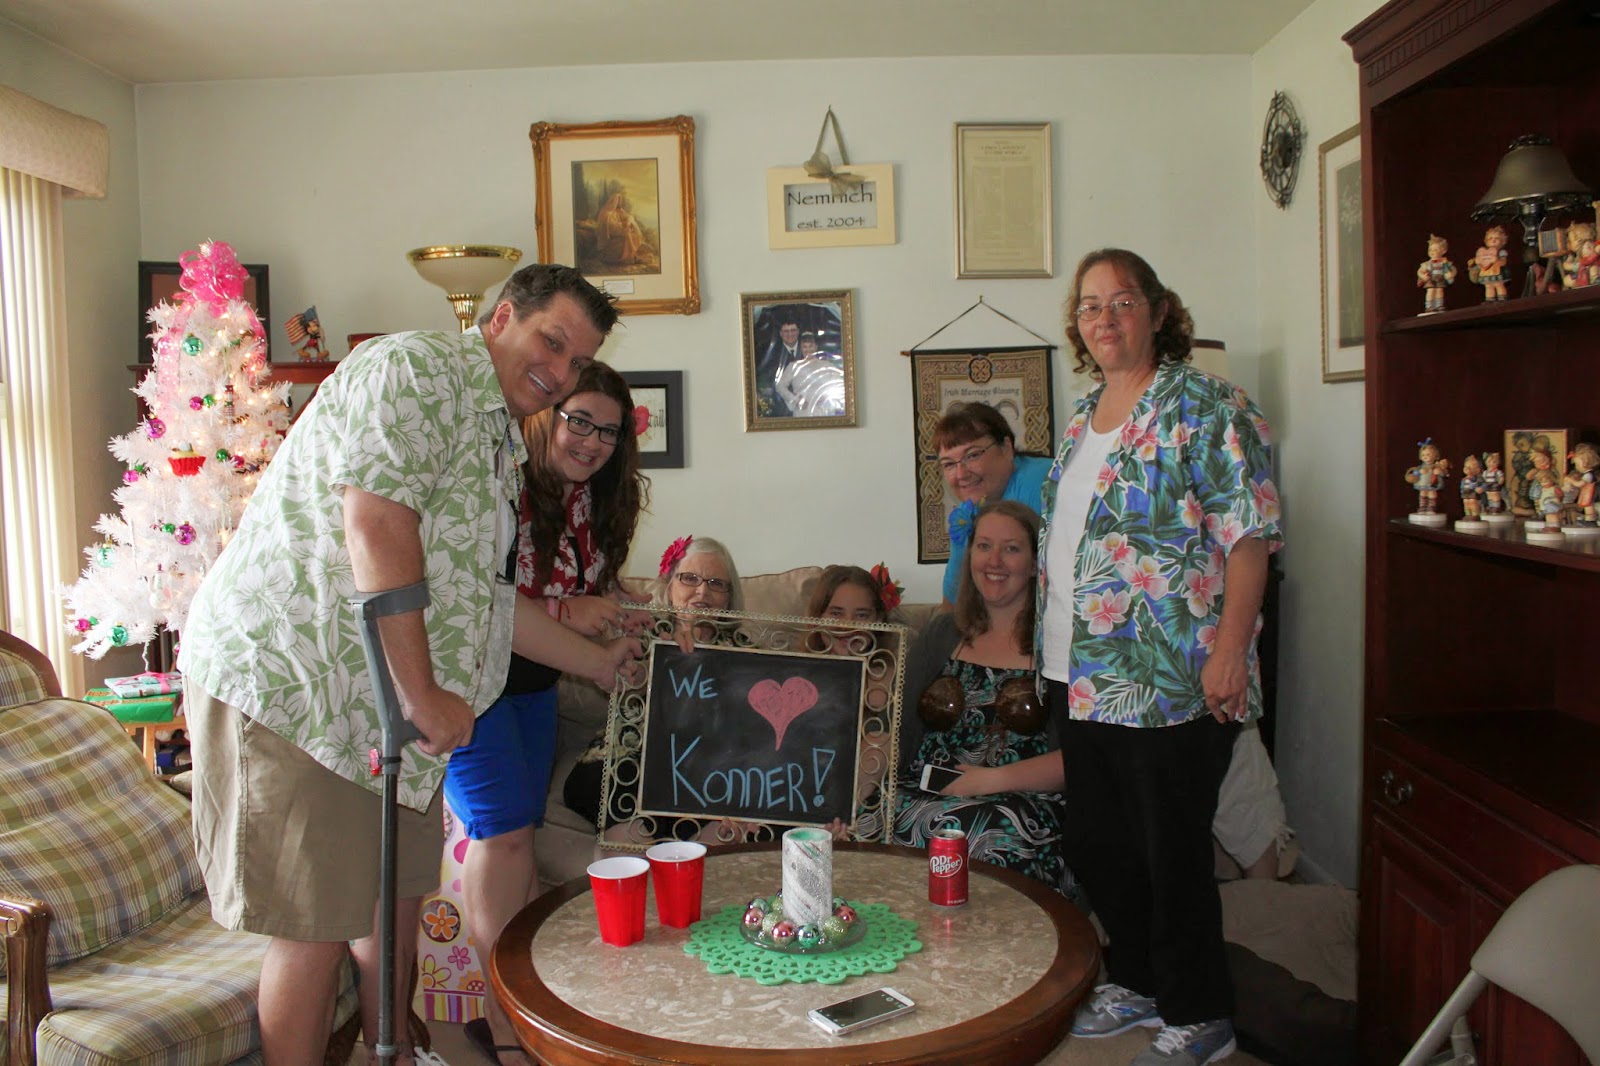
This year, I wanted to do something different, so we took the idea of Ugly Sweaters, gave it a summer twist and wore Hawaiian shirts. My gals, Shari and Shae took it one step further and showed up with these fabulous coconut additions. Trust me, they we're the topic of endless jokes all evening.


2014 has been a year of change in our family, so our little celebration had to work through a few absences. My best friend Tammy passed this year, so she was absent and Ciara's best friend Konner (our summer Santa) has moved out of state for college. Both we're missed, but in our thoughts. Ciara had a the idea to make this chalk board sign and send it to Konner. 


We played a quick game of Christmas Trivia, but next year we need to amp up the game, because this batch was way to easy.


We all had a blast exchanging or gifts. Everyone did a great job of making them personal and that's what makes it so much fun. 


After dinner and gifts, the kids went outside to try out the new super soakers I gave Shae. They we're an instant hit and I have no doubt that they will be put to great use for the remainder of the summer.


Once again, I'm thankful for my friends and family putting up with my Christmas antics and playing along. I love them all!

Friday, July 25, 2014

Christmas Cakes Gone WRONG!

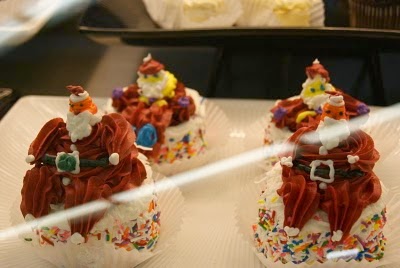
After looking at another fine batch of Cake Wrecks, I thought it was time to share some more Christmas Cakes Gone Wrong. 


Let's start with Santa. Let's just say, there are so many ways to go wrong with a man in a red suit. 


Snowmen: We might just be better off if they found a way to melt away! 


 This last group of photos, is a great mod podge of wonderful, delectable pieces of art!


 (I finally just realized what these remind me of. The little white soldier guys in the Star Wars movies)


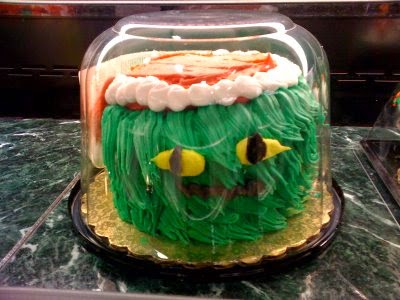
Honorable Mention goes to this Grumpy Cat Christmas cake I found at Project-Nerd.  Some might find this utterly amazing and to any grumpy cat fans I apologize. However, I just find it CREEPY! Something about this, is just not appealing to me. 


Thursday, July 24, 2014

A Christmas Story: Everything You Want to Know!

During my Christmas quest this week, I stumbled across another museum and this one is a full size tribute to "A Christmas Story". Talk about full scale; in 2005 the actual house where the movie was filmed, was purchased on Ebay by a super fan. Fundraising and restoration happened almost immediately and he was able to open the house and museum to the public in 2006. 


You can tour A Christmas Story House and Museum year around. The museum features original props, costumes and memorabilia from the film, as well as hundreds of rare behind-the-scenes photos. They also have activities throughout the year, including several activities for Christmas in July. 

If you visit their page, I suggest you check out several of the videos on the front page. Their is a great video piece by NBC about the purchase of the house. If you are a fan, I'm telling you, the museum page has endless amounts of information and trivia related to A Christmas Story.


If you are looking to purchase something related to A Christmas Story, they have a shop directly across the street from the museum or you can purchase directly online. The Red Rider Leg Lamps Store has everything all in one place. Anything you want, can be found in that store. Wow...it's endless! 


In my quest, I also found details on A Christmas Story: The Musical. From what I've read, it received great reviews and was nominated for several Emmys this past year. It toured in both 2012 and 2013, so check back later in the year and see if it will be in your area this year.


Want to host A Christmas Story themed party? Pinterest is your place for endless ideas. 


Sunday, July 20, 2014

Mickey and Minnie Mouse Felt Christmas Ornaments

Every year, I participate in a Christmas in July homemade ornament swap. As soon as Christmas is over, the Magical Holiday Home post goes up and sign] ups continue through February. Some years we might have 4 sign up, others years the numbers can top 8 or more. Some swappers are "oldies, but goodies", others are newbies. Newbies are always welcome, because it brings fresh ideas to the swap and conversation. Once the sign ups are over, the hard part starts. Looking at tons of ornament ideas and deciding which ornament is the perfect choice for the year, can be nerve wracking. Things like weight and shipping play into your choice, as well as stability and creativity.


Because my screen name is MinnieCo, I decided to go with a Disney theme and created a Mickey and Minnie Mouse pair.


I had pinned the idea from Spoonful.com some time ago and used their Template to create my own pattern. I wanted my template a bit bigger, so I adjusted it accordingly in Print Shop. Although I followed their general instructions, I did change things a bit, so I'll note my instructions accordingly.


1. Print the template and use the pieces as patterns for cutting out the shapes in the specified colors. I used stiff felt for the black and regular felt for the red and green.


2. Sew the buttons on the red semi-square and the pearls on the green semi-square.

*Spoonful used glue for their buttons and stick on pearls. I wanted to make sure these lasted for some time,   without loosing parts, so I sewed mine on.


3. Glue both the red semicircle and green semicircle to a Mickey head.


I've had issues in the past with gluing felt, so I uses Beacon felt glue and was very happy with the outcome.
 

4. Once completely dry, use hot glue to attach the ribbons to the back of both ornaments.


5. Once cooled, flip over the Minnie ornament and use a dab of hot glue to attach the bow. 


6. You are done!!